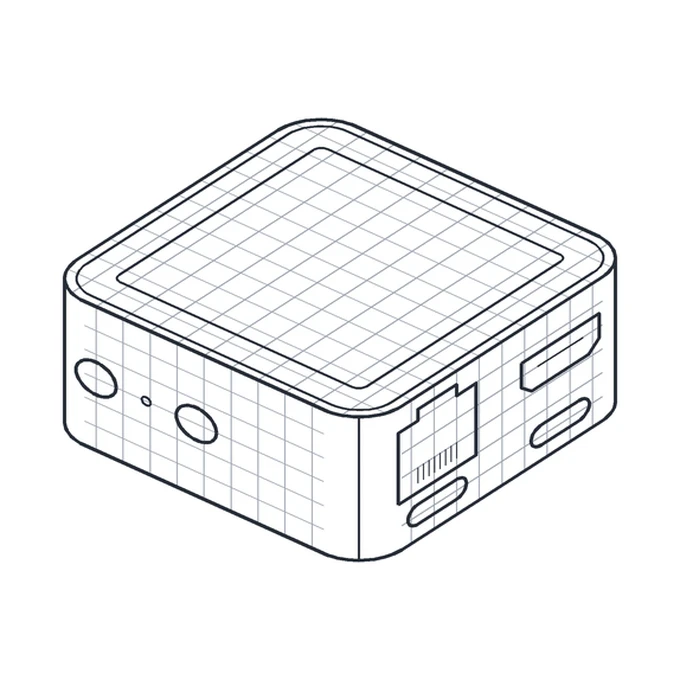
The JetKVM Mini is a small ready-made KVM. Inside is the ESP32-P4X, the chip ESP-KVM runs on, with the same 32 MB of PSRAM and a TC358743 for the HDMI input. The box, the screen and the USB port are already there, so nothing else is needed. Thank you, JetKVM, for building it and for publishing its firmware.
ESP-KVM is tested on a real Mini: the picture, Ethernet and updates over the network, keyboard and mouse, the screen and its button, the microSD slot and sound. On the Mini W everything but the Wi-Fi is the same hardware. Its Wi-Fi has not run yet: I do not have one.
What the image uses
- The HDMI input, through the TC358743.
- Ethernet on the Mini, the ESP32-C5 for Wi-Fi on the Mini W.
- The microSD slot, for virtual media and recordings.
- Sound over USB: the Mini offers the target a USB speaker, since its HDMI sound is not wired. Turn it on in Settings, Audio.
- The 240x240 screen, switched on from the first boot for the address and the status.
- The top button (SW3): a press shows the next page on the screen. Holding it turns the screen off or on.
- The bottom button (SW2): a press opens a menu on the screen, for power on over USB, Wake-on-LAN, a screenshot, a restart and more. Held at start-up it resets the password.
- Both buttons can do something else in Settings, Buttons.
What ESP-KVM adds
Things JetKVM's own firmware for the Mini does not have:
- A VNC server. TigerVNC connects to it over TLS, next to the browser console.
- Recordings, screenshots and a dashcam on the microSD card.
- Runbooks: steps that type, wait for text on the screen and press keys, by hand or on a schedule.
- Reading the text off a BIOS or console screen, for runbooks and alerts.
- Alerts to Telegram, ntfy, Discord, email or a browser push.
- WireGuard next to Tailscale.
- Two-factor sign-in with an authenticator app.
Before you flash
JetKVM's firmware only takes updates signed by JetKVM, so ESP-KVM goes on over USB:
- In JetKVM's web interface, open Settings, Advanced and turn on USB Debugging, then restart the Mini. Without it JetKVM's firmware turns the flashing port off about two seconds after start.
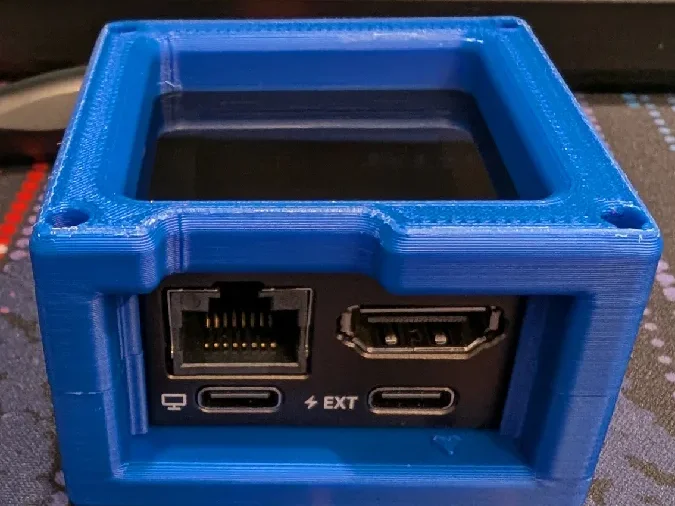
- Unplug the Mini from the target. Connect its EXT port (Power EXT, not Computer) to your computer with a USB-C cable that carries data. The Mini takes its power from that port too.
- Check the eFuses with
espefuse.py summary. If Secure Boot or flash encryption is on, stop: the device will not run anything unsigned. - Back up the whole flash: press Back up the flash on the flasher, or run
esptool.py read_flash 0 0x1000000 jetkvm-mini.bin. Keep that file: it has your device's own settings and data. - Flash ESP-KVM from the flasher. Pick JetKVM Mini or JetKVM Mini W. Then plug the Computer port into the target.
Back to JetKVM's firmware
Connect the EXT port as above and write the backup to it with esptool.py write_flash 0 jetkvm-mini.bin. Without a backup, JetKVM has a recovery image for each model on its recovery page.
Questions
Can I put custom firmware on a JetKVM Mini?
Yes, over USB. JetKVM's firmware for the Mini is open source, at github.com/jetkvm/mini, and its build turns on neither Secure Boot nor flash encryption. The steps above check that on your own unit before anything is written.
Does ESP-KVM run on the flagship JetKVM?
No. The flagship JetKVM is a Linux computer on a Rockchip RV1106, and ESP-KVM is firmware for the ESP32-P4. Of JetKVM's devices, only the Mini and the Mini W have that chip.
What does ESP-KVM add on the Mini?
A VNC server, recordings on the microSD card, runbooks, reading text off the screen, alerts, WireGuard and two-factor sign-in. The full list is above. ATX power control and a serial console on pins need wires, and the Mini has no free pins for them.
Can I go back to JetKVM's firmware?
Yes. Write your backup or JetKVM's recovery image to it, as described above.
Mini and Mini W
The two differ in the network. The Mini has 100M Ethernet. The Mini W has an ESP32-C5 for Wi-Fi 6 on 2.4 and 5 GHz in its place.
The comparison page puts ESP-KVM next to the JetKVM Mini and other KVMs.
ESP-KVM is a separate open-source project. It is not made, sold or supported by JetKVM.